
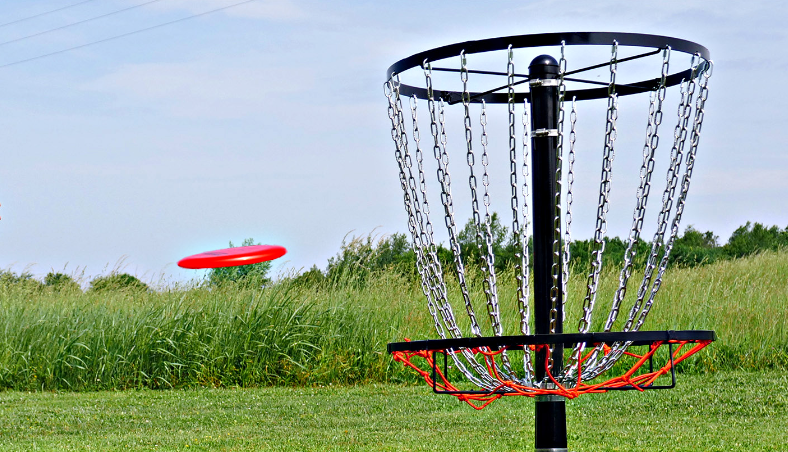
A local Disc Golf course has commissioned me to make a lost a lost and found box for their users to deposit found discs from the course. If you are not familiar with Disc Golf it basically follows the similar rules to golf but you use specialized frisbees thrown at a chain basket as shown below.
The course runs all year long so they can easily lose discs all winter and come spring they need a spot to drop them off. A formalized lost and found system is in place which requires the staff at the facility then give the person a call and they can pickup their lost disc the next time they visit the course. By having a drop box on site there is no need for people to stash discs around the facility and not get their discs back.
The first thing I needed to do was to get the lumber to build the box. Most people would just go to the store and buy some lumber but I'm not most people. I have a particular set of skills and tools that allows me to use reclaimed downed ash trees from the facility that had to be culled due to the Emerald ash borer. When building the course some dead hazardous ash trees needed to be removed so I swooped in and acquired a 2 and half inch thick slab as my base of the project.
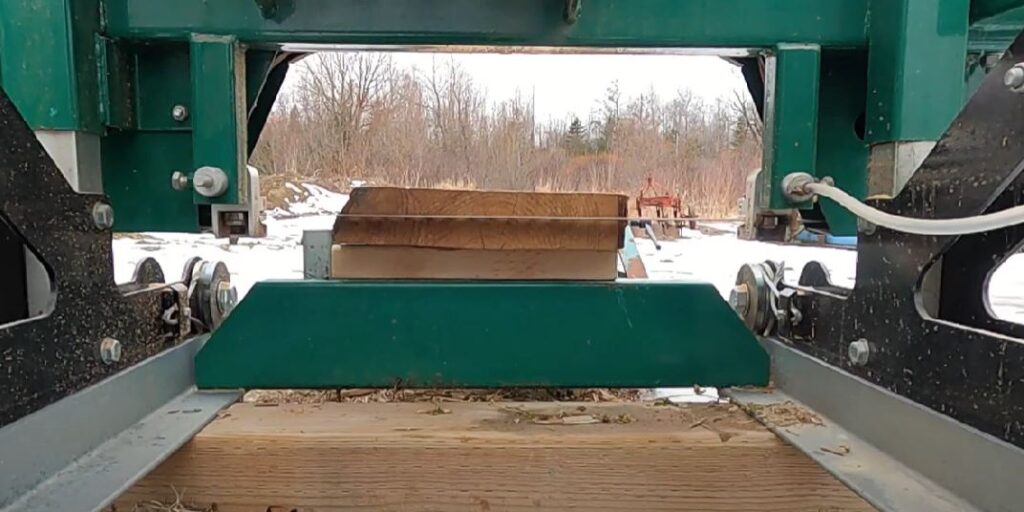
Taking the large slab home I then ran it through my sawmill and split it in half to create two 1 inch thick beautiful boards. This is the basis of where the project starts. Now that I have the boards I need to come up with a design. To the drafting table we go to see what we can come up with to maximize the lumber we just made.

The first thing I had to do was measure a disc to get the proper proportions for the size of the box. It had to be big enough to allow for multiple disks yet not too big that I couldn't mount it on the side of the building at the facility. I ended up settling on a12 inch by 12 inch square box with a 10 and half inch slot in the front for the discs. I also decided on a hinged lid utilizing the beetle capillaries to enhance the look and showcase why the tree had to be removed. Emerald Ash Borer has decimated so many Ash trees and it is sad to see this happen but reclaiming it back into something usable is so satisfying.
If you are looking for a set of discs for yourself, click the link and get your starter pack to get out on the course. Good luck and try not to lose a disc, but if you do, I hope they have a drop box.
Dis Golf Starter Set. - https://amzn.to/447z9aQ
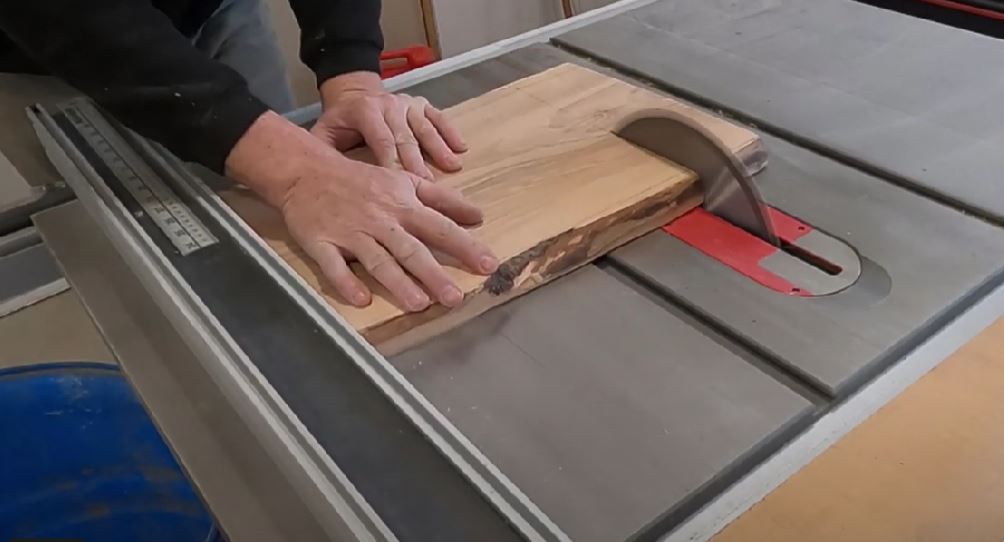
So now that we have the rough lumber and a design, it's time to hit the machines and start making the finished lumber for the box build. First thing is to shorten down the boards making it easier to put through the planer. Then I planed all the boards to the same thickness and finish. Then it was off to the table saw to trim all the pieces to the desired size of 12x12". It didn't take long before I had all the pieces cut to size and ready for the next step.
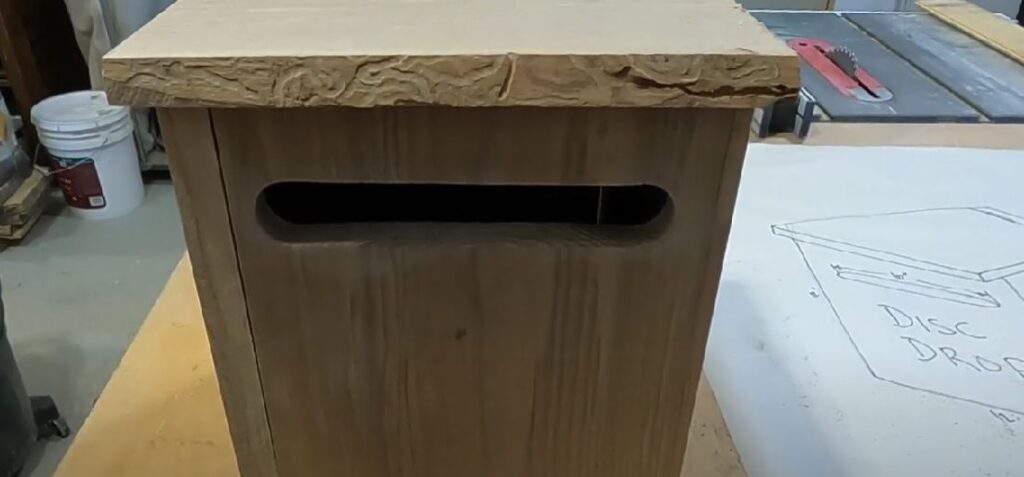
I then dry fit all the pieces together and ensured everything was going to work with the rough design. It was then time to cut the slot in the front of the box. This slot allows discs to be deposited in the front of the box securely with the lid locked down. I made the slot 10 and half inches long by just over and inch wide. This way it will accept all types of discs with ease. Here is a link to the tools that you need to cut the slot mentioned.
Hole saw kit - https://amzn.to/3JpH4XI
Jig Saw - https://amzn.to/3xTJATj
The final step of the first part build of this box is to get ready for routering the wording on the front of the box. I laid up the lettering so it would be easy to read from a distance and be perfectly clear on what it is. Disc Drop seemed perfectly fitting or as the Disc Golf community now calls it, Double D. I plan on doing the routing free hand without any jigs so this will take a steady hand. I only had enough wood to make this box to the exact specs. so if I mess up the router work then it's all over. I will have to start again. I will be using a rosebud bit for the lettering but pick up your router kit here.
Router Kit - https://amzn.to/49Lkcg6
Stay tuned for Part 2 of this build and see if everything came out as expected or if it ended up in the woodstove because I messed up the lettering. Only time will tell.