
From a Standing Tree to 6”x6” Beam: Milling Timber in the Bush with a Granberg Chainsaw Mill. Why go to the Lumber store
There is something deeply satisfying about turning a tree into usable lumber right where it falls. No sawmill yard, no loader, and no expensive machinery—just a chainsaw, a Granberg chainsaw mill, a straight guide board, and a willingness to work. Making a 6”x6” beam in the bush is hard physical labour, but it is also one of the most rewarding projects for anyone who enjoys forestry, off-grid building, or self-reliance.
The process starts long before the saw touches the wood. Choosing the right tree matters. A straight trunk with minimal twist and few large knots will save hours of frustration later. Species selection is important too. Knowing that part of this beam is going to be buried in the dirt, I needed a rot resistant species like Eastern White Cedar. They are easily milled in the bush because they cut relatively well and produce strong beams for cabins, sheds, bridges, and outdoor structures.
Once the tree is selected, the first step is felling it safely. This is not the time to rush. A properly planned notch and back cut help guide the tree exactly where you want it to land. Ideally, the trunk should fall onto relatively level ground where you can work around it safely. After limbing the tree and cutting the trunk to length, the real milling process begins.
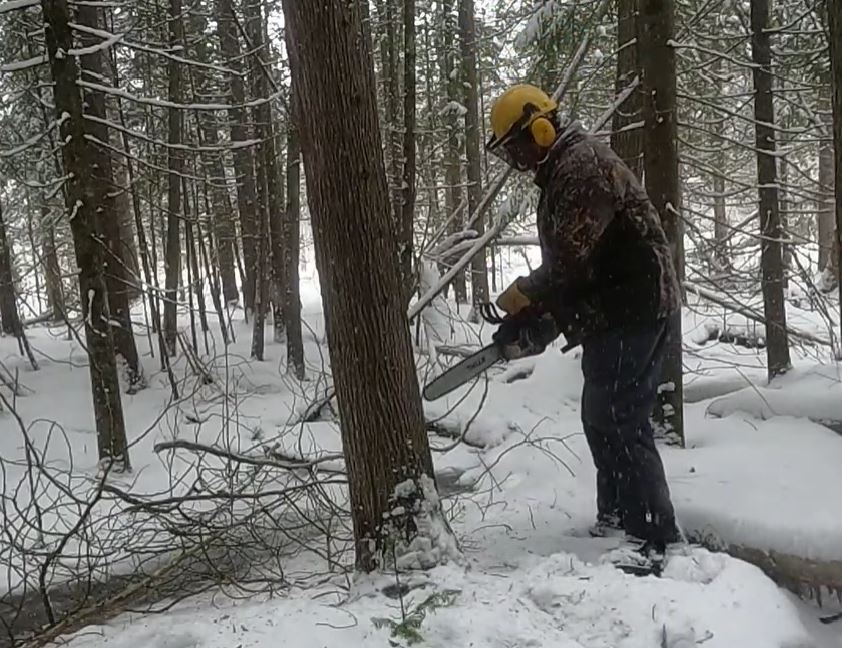
A Granberg chainsaw mill is one of the simplest and most portable ways to mill lumber in remote areas. It clamps directly onto the bar of a large chainsaw and allows you to make straight, controlled cuts. The challenge with any chainsaw mill is the first cut. Since the top of the log is naturally uneven, you need a perfectly straight reference surface before you can start producing square lumber.
Buy your Granberg Mill here : https://amzn.to/4dOZPDH
That is where the flat guide board comes in.
A long, straight board is attached securely to the top of the log using screws or brackets. This board acts as a rail for the first milling pass. For a lot of my milling I use a old aluminum ladder for this step. Taking the time to level and secure the guide properly makes a huge difference in the quality of the finished beam. If the first cut wanders, every cut after that will follow the same mistake.
With the guide board in place, the Granberg mill rides smoothly along the top, shaving off the rounded surface of the log and creating one perfectly flat face. The first cut is usually the slowest because the saw is removing the widest portion of material. A sharp ripping chain is essential here. Standard crosscut chains work, but they cut slower and leave a rougher finish.
Check out my video here of the coolest chainsaw shop on the planet:
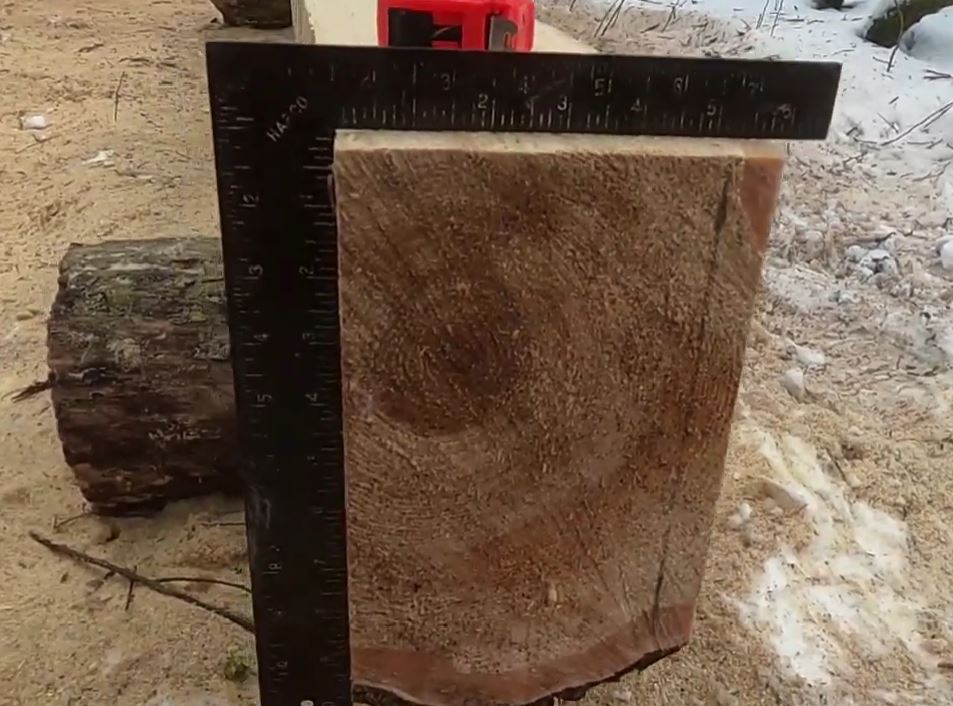
Once the first flat surface is complete, the guide board can be removed. Now the mill references directly off the flat face you just created. The log can be rotated, and the process repeated to create a second flat side, then a third and fourth. Careful measurements between cuts gradually bring the timber down to a true 6”x6” beam.
There is an art to keeping the cuts consistent. Chainsaw milling demands patience. Pushing too hard overheats the saw and dulls the chain quickly. Letting the saw pull itself through the wood creates smoother cuts and places less strain on the equipment. Long milling cuts also generate enormous amounts of sawdust, so regular cleaning and frequent chain sharpening become part of the routine.
By the time the beam is fully squared, you can really appreciate how much material came from the original tree. What started as a rough log is now a clean, solid timber ready for building. The smell of fresh-cut wood mixed with chainsaw exhaust and forest air is hard to beat.
Of course, milling the beam is only half the job.
In remote bush work, getting the finished timber out can be just as challenging as making it. A green 6”x6” beam is heavy—especially if it is several feet long. This is where a reliable 4 wheeler becomes invaluable. Instead of dragging the beam by hand through mud, roots, and uneven terrain, the ATV turns a backbreaking task into a manageable haul.
Loading the beam often takes creativity. Sometimes a simple ramp made from logs or planks is enough to slide the timber onto a small trailer behind the ATV. A cant hook or peavey helps roll the beam into position. I opted for loading it directly onto the 4 Wheeler like a battering ram. Ratchet straps keep everything secure before heading down the bush trail.
Driving out of the woods with a freshly milled beam on or behind the 4 wheeler feels like bringing home a trophy. Every scratch on the bark, every pile of sawdust, and every sharpened chain represents work done by hand in the middle of the forest. There is pride in knowing the beam was produced entirely on-site from a standing tree.
In Conclusion:
Projects like this connect people with the materials they build from. Modern construction often hides the origin of lumber behind stacks of perfectly milled boards at a hardware store. Milling your own beam reminds you that every piece of wood begins as a living tree and becomes useful only through effort, skill, and patience.
A Granberg chainsaw mill may not replace a commercial sawmill, but in the bush, far from roads and power, it opens up incredible possibilities. Whether you are building a cabin, repairing a bridge, or simply enjoying the process of working with timber, few experiences compare to turning a tree into a finished 6”x6” beam and hauling it home with your 4 wheeler. Ready to start the next project!