
Build Day is Here
For years I have been using a chainsaw mill from Granberg. I love it and at times it is very helpful as sometime you just cant get the log out of the bush or maybe you just don't have the equipment needed to do so. This mill comes in very handy for that as it is super portable. Just walk it in to the log, set it up and start slicing boards. They are also very helpful for extremely large diameter trees that you just can't mill on a bandsaw due to their size. A great tool but I wanted something that takes less time and energy and produces the same dimensional lumber that I was used to. This took me down the rabbit hole of the bandsaw mill.
I did a lot of research as there are many different manufactures out there producing very similar equipment of all types of quality. Really it comes down to what you are looking to do with it and your budget. Where I am. there is not a lot of really large trees in my bush lot. 20-24 inch diameter is pretty much the maximum so I decided on a smaller model as I wouldn't need the extra width. You may need that etc. so take the time to look around and figure out what it is you need in the end.
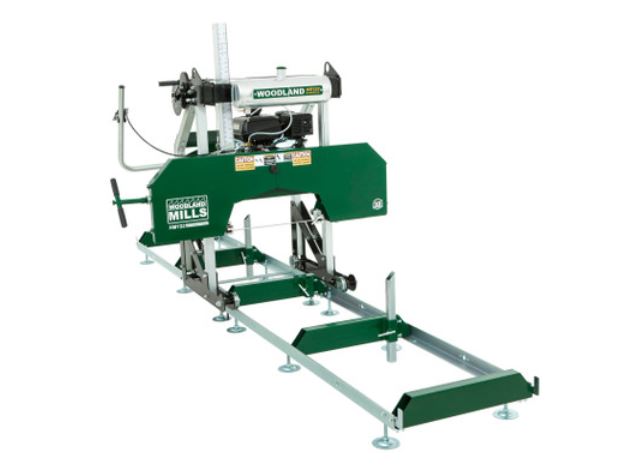
I settled on the Woodland Mills HM122. This is a Canadian Company based in Ontario but through all my research their shipping wasn't going to be an issue and their customer service is awesome. They build a great product and well worth it. They are always upgrading design and adding features and support equipment. Check them out.
Remember to buy the extension rails at the same time so they ship as a unit. Better cost saving.
I purchased the portable sawmill from Woodland Mills and had it shipped to me. They gave me a shipping time and luckily I was home that day as a transport truck showed up at the end of my driveway with no real means of offloading an 800lb crate. Have something ready to offload a big crate. I used my tractor with forks and brought it right to the shop. The next day I started to assemble the unit. I built it on top of a trailer temporarily but you could do it anywhere you have a level spot.
It comes with a lot pre-assembled pieces but there is still a lot of assembly that needs to be done once you lay out all the pieces. It takes pretty common tools but will require some rather large sockets or wrenches to tighten the bolts.
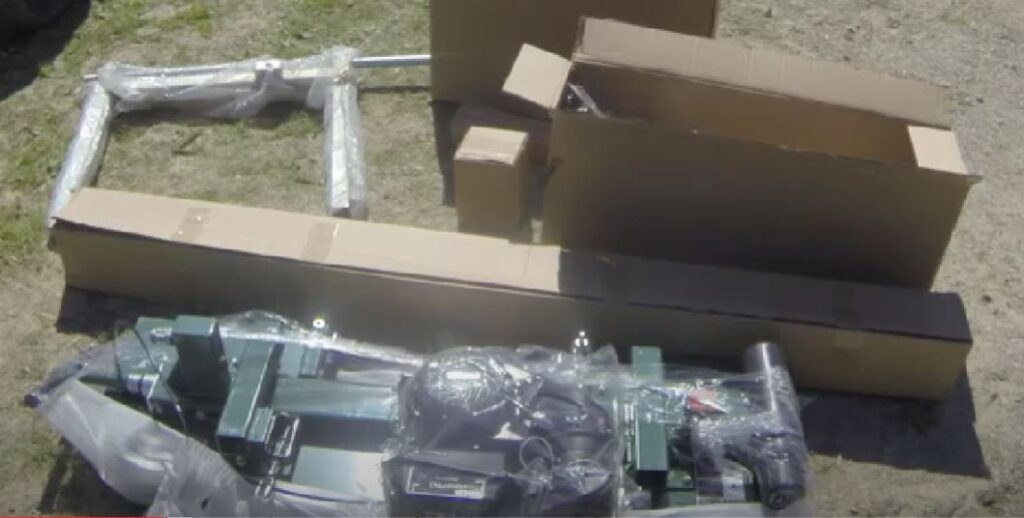
First thin is to unpackage all the parts and lay them out in an orderly fashion. Take stock of everything because if you are missing anything then this is the time to contact them and get the item. I had no issues and everything was just as described.
The assembly instructions are in the tube for the operators manual.
Follow the instructions provided as they are well written and legible unlike some other companies.
1. Start with the bed rails. Lay everything out and assemble them loosely at first. I put everything together and did not tighten a single bolt quite yet. Once you get the bed assembled then you need to get your large square and make sure everything is square and aligned perfectly. Once this is done go ahead and tighten down the bolts starting at one end and working to the other checking everything as you go. May be a bit tedious but makes everything perfect in the end.
2. Start assembling the power head. The power head come half built so all you have to do is add all the extra features such as the height adjustment, lubricator, blade guards and chassis to hold it all together. Once you get the main chassis assembled then you can start putting the power head into it and adding all the rest of the features. I assembled the whole thing on two boards on the ground and once done lifted it into place onto the rails. This the main weight of the whole unit so you need either a strong friend or a piece of equipment. If you don't have either then make sure you assemble this on the bed rails in it's final location or in my case on a trailer as you wont be able to lift it when done.
3. Check all the fluids, blade tension and set it for level. Now that everything is together there are few things you need to do to just finish the project off. On the motor, check fluid levels to be safe. Never assume things are filled etc. check oil and gas and fill as needed. Once you put the blade on make sure the tension is set properly and it is running true and straight. This is super important for good cuts down the road. Last thing I found was to set it for level cuts. They have an adjustment cable to make sure the blade runs true. Using a level, set this so the blade is exactly parallel to the rails. Once this is done then you are pretty much ready to start cutting lumber.
I have been using this mill for years now and the only thing I have had to do is check my level settings and replace blades. I cant believe I didn't buy one of these 15 years ago so don't wait, you wont regret it.
Check out my full assembly video here or go to my sawmill page for more videos